How to Teach Money in 2nd Grade
Are you looking for tips and strategies on how to teach money in 2nd grade? Teaching students about money can be so much fun! In this blogpost, I’ll give you tips on how to introduce coins and teach your 2nd graders how to count money. Plus, I’ll share activities that will help your students master learning to identify coins and coin values, add and subtract money and use money in real-word situations.
Identifying coins & Coin Values
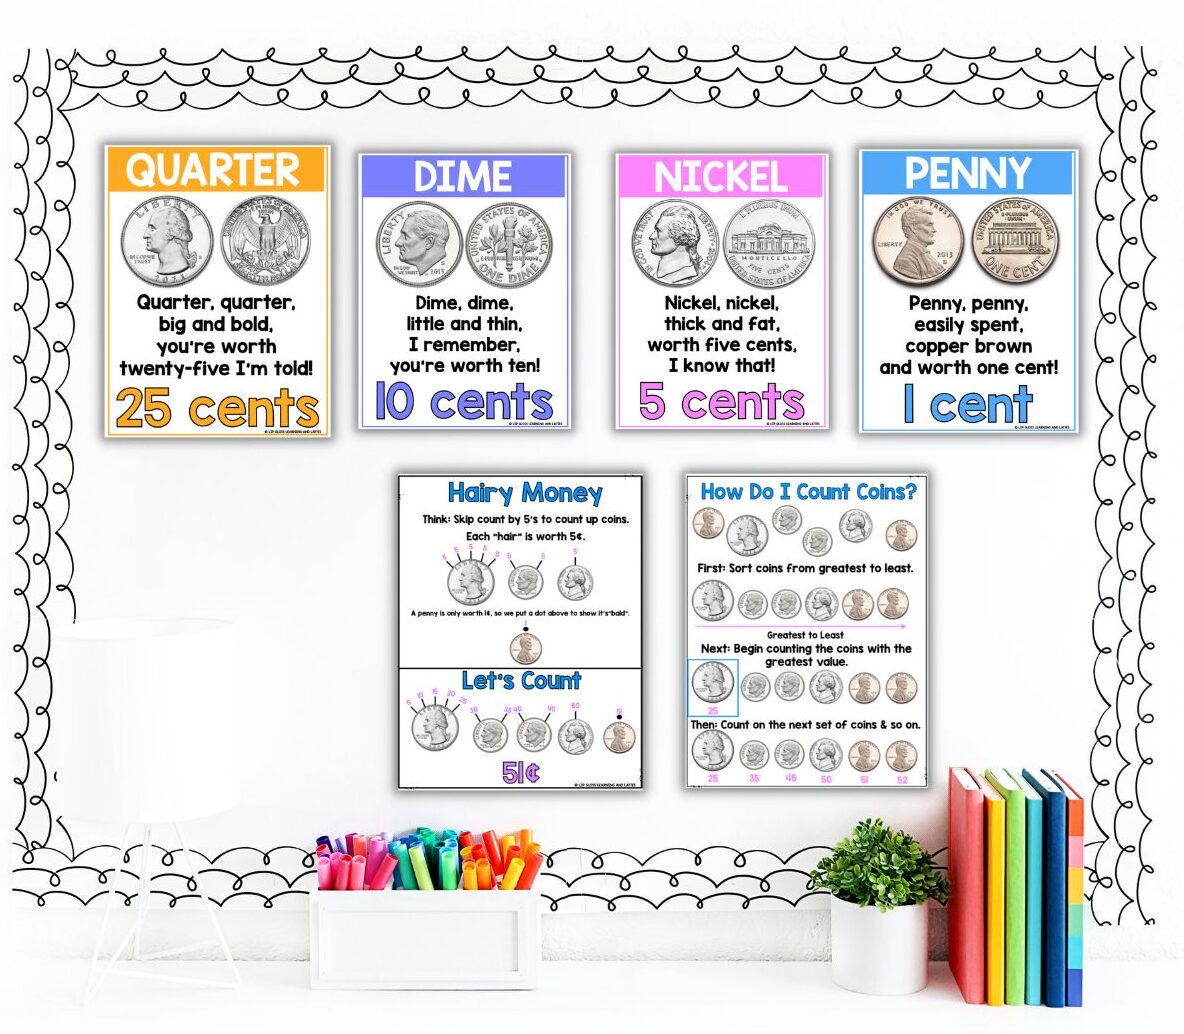
When teaching money in 2nd grade, the very first thing you’ll want to start with is coin identification. Students need to be able to identify each coin, front and back and how much they are worth. I like to introduce coins using money anchor charts like the ones below. Anchor charts are always a must, because they give students a point of reference to look back on throughout our time spent learning about money!
Oh, and I’ve always LOVED using the coin poem shown on the posters above! Students always enjoy it and I do believe it makes remembering coin values easier for some students!
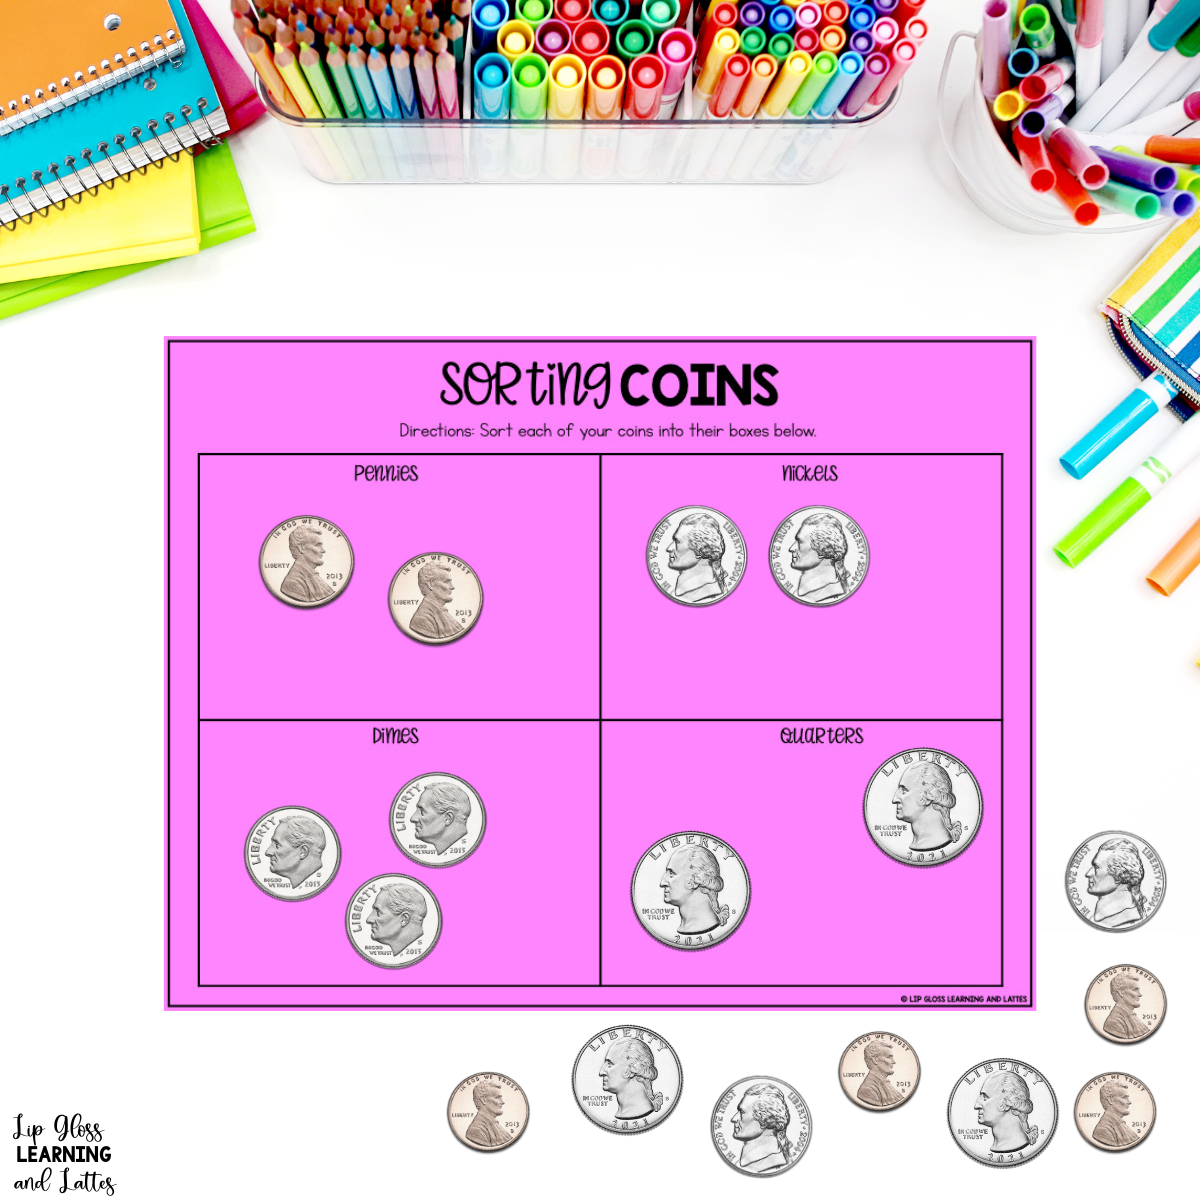
I like giving students plenty of activities to practice identifying coin names and their values. In the very early stages of introducing coins, I will have students complete a sorting activity with coins. This gets students thinking about the different types of coins. Then, to give practice identifying the fronts and backs of coins
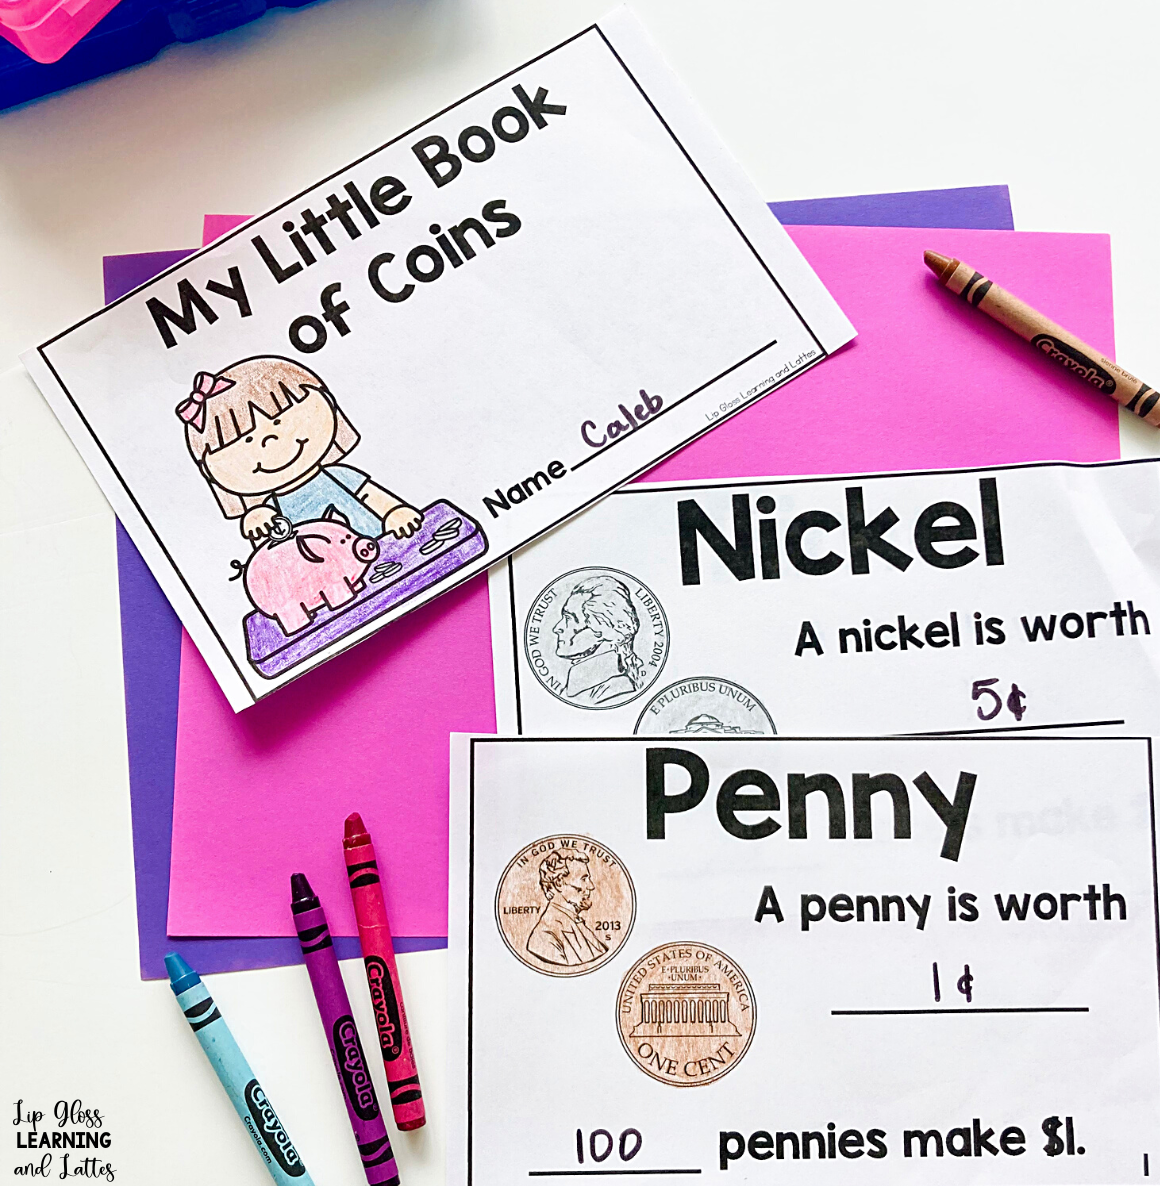
Identifying Coins Student Book
At the start of our money unit, I will have my students create their very own coin book. They will use these mini books for reference as we’re learning about money. We include the fronts and backs of each coin as well as their values.
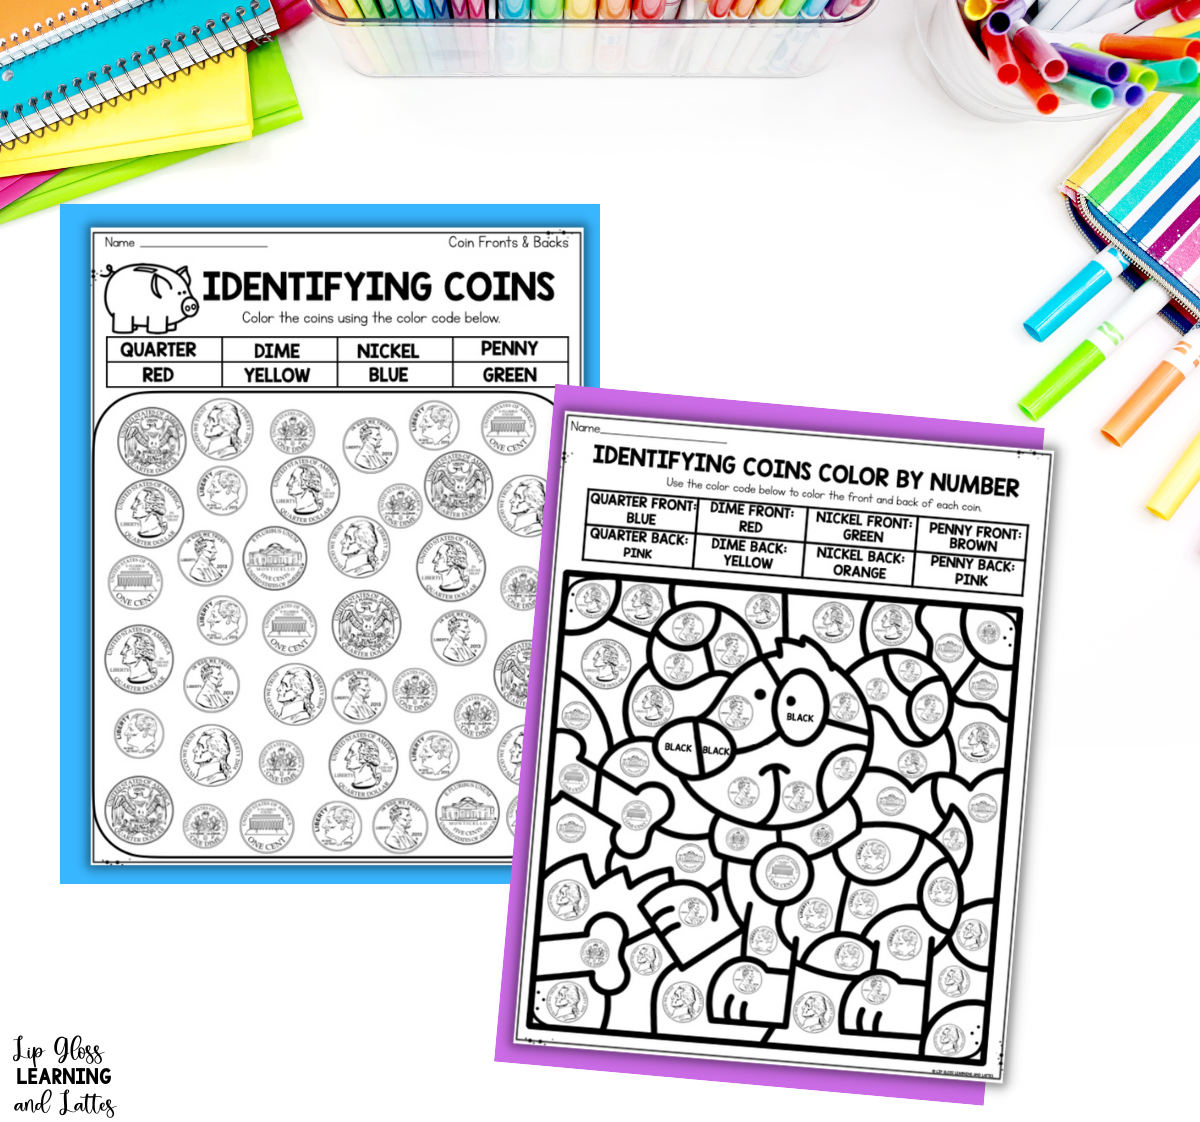
Identifying Coins Coloring Sheets
I’ll use Coin Coloring sheets to help students practice identifying coins. They are a great way to give students lots of practice identifying the fronts at first, then the backs, and finally the fronts and backs of coins. You can find the coin coloring sheets shown below in this Money Pack on TPT!
Counting Coins
Once students are able to identify each coin and have a more solid idea on what each coin is worth, it’s time to teach them how to count coins. This is where all their hard work with skip counting comes in!
I like to start by having students count and total up like coins first. Think a really simple, straight line of the same type coin. First we practice rows of pennies, then nickels, dimes, and finally quarters.
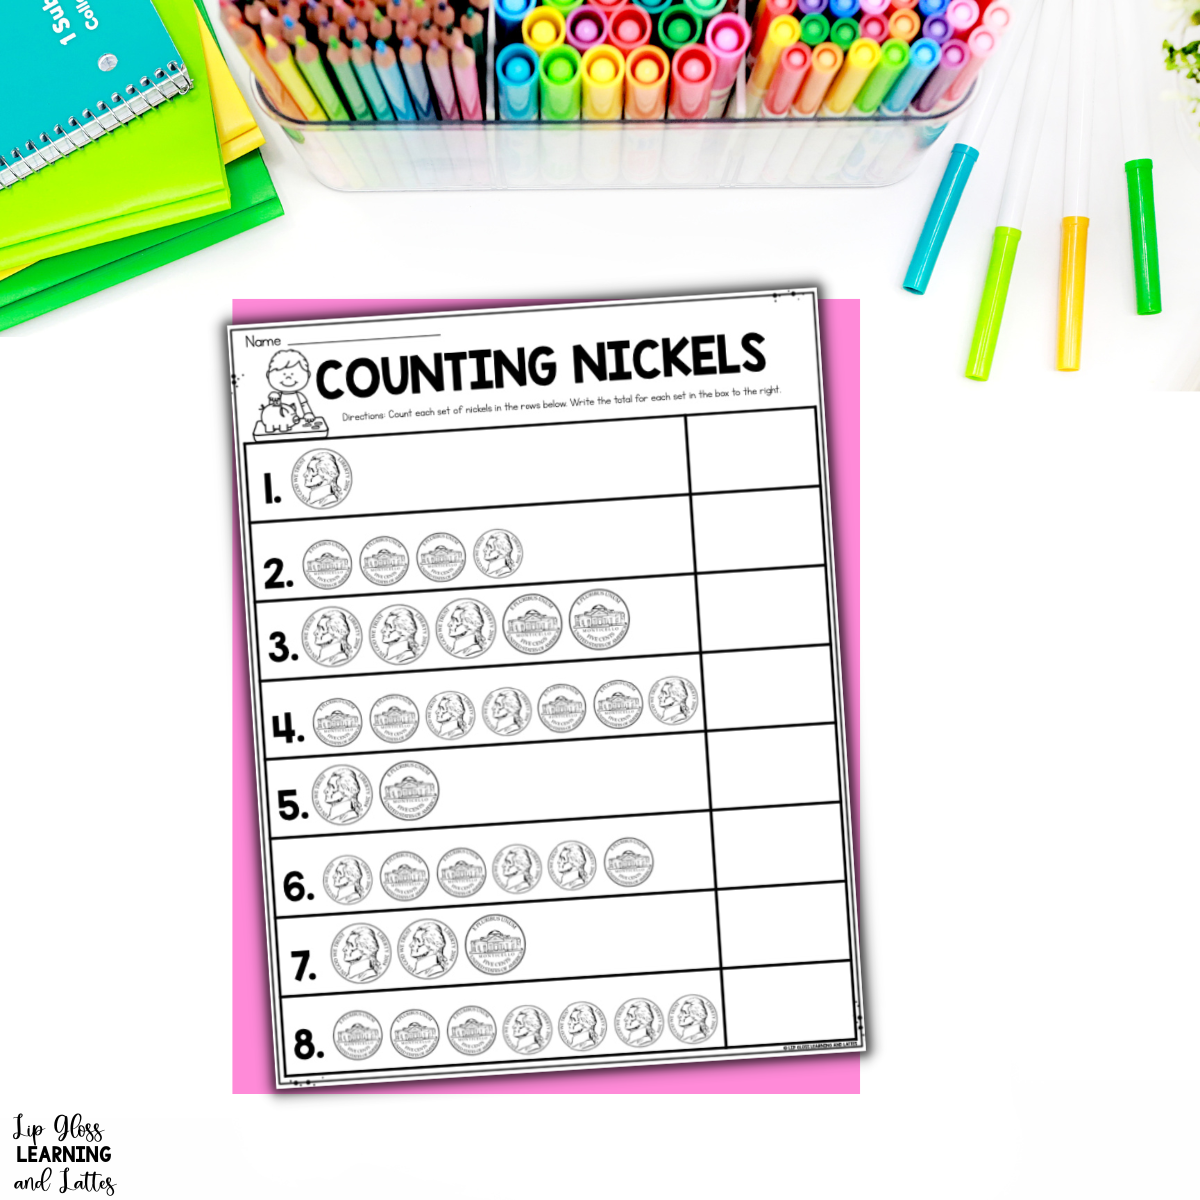
When students have mastered counting like coins in a line it’s time to count up mixed sets of coins. I’ll still have these mixed sets of coins in a line and will introduce mixed sets of coins to students going from greatest to least.
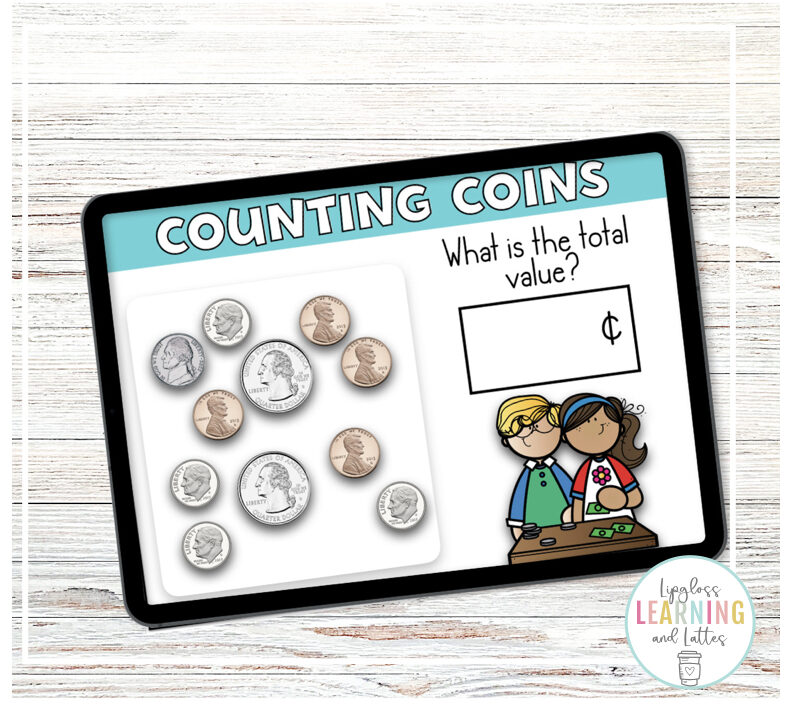
Finally, when students have mastered all of that, it’s time to give students a set of mixed up coins and have them sort and count the coins. I like using both hands-on counting coins activities as well as printable ones. Here is an example of a simple coin sorting activity students can do.
Make sure to model for students how to group like coins together. I explain how doing this makes it so much easier to count the group of coins as a whole. Once students have the coins in groups, they’ll begin with the largest valued coins first. Practicing one-to-one correspondence is also a biggie when it comes to counting coins, so make sure students are moving each coin into a new pile as they are counting them. This will prevent them from counting a coin more than once.
Hairy Money Strategy
I will never forget the first time I introduced “hairy money” to my 2nd graders. My assistant teacher, Gail, walked in and busted out laughing at the sound of it. Even though it sounds silly, in my experience it really works!
Here’s how to teach “Hairy Money” to your students.
- Each hair is worth 5 cent.
- Quarters, nickels, and dimes will all get “hair”.
- Draw hairs just by adding lines to the top of the coins on your paper.
- Count by 5’s as you put hair on each coin until you’ve reached the value of that coin. So, a quarter is worth 25 cent, so it gets 5 hairs. 5, 10, 15, 20, 25. A dime will have only two hairs and a nickel just one.
- A penny will not get hair because it’s only worth one cent. We say then that a penny is bald and this can be shown by putting a dot above it, a “bald spot”.
After getting the hang of it, students can use the Hairy money strategy to count coins. They’ll draw hairs on the coins and then count by 5’s using the hairs to get the total value.
Adding and Subtracting Money
After students have had lots of practice identifying coins and understanding their values, they are ready to begin adding and subtracting money. This is the part that really helps students see how these money skills will help them in the real world.
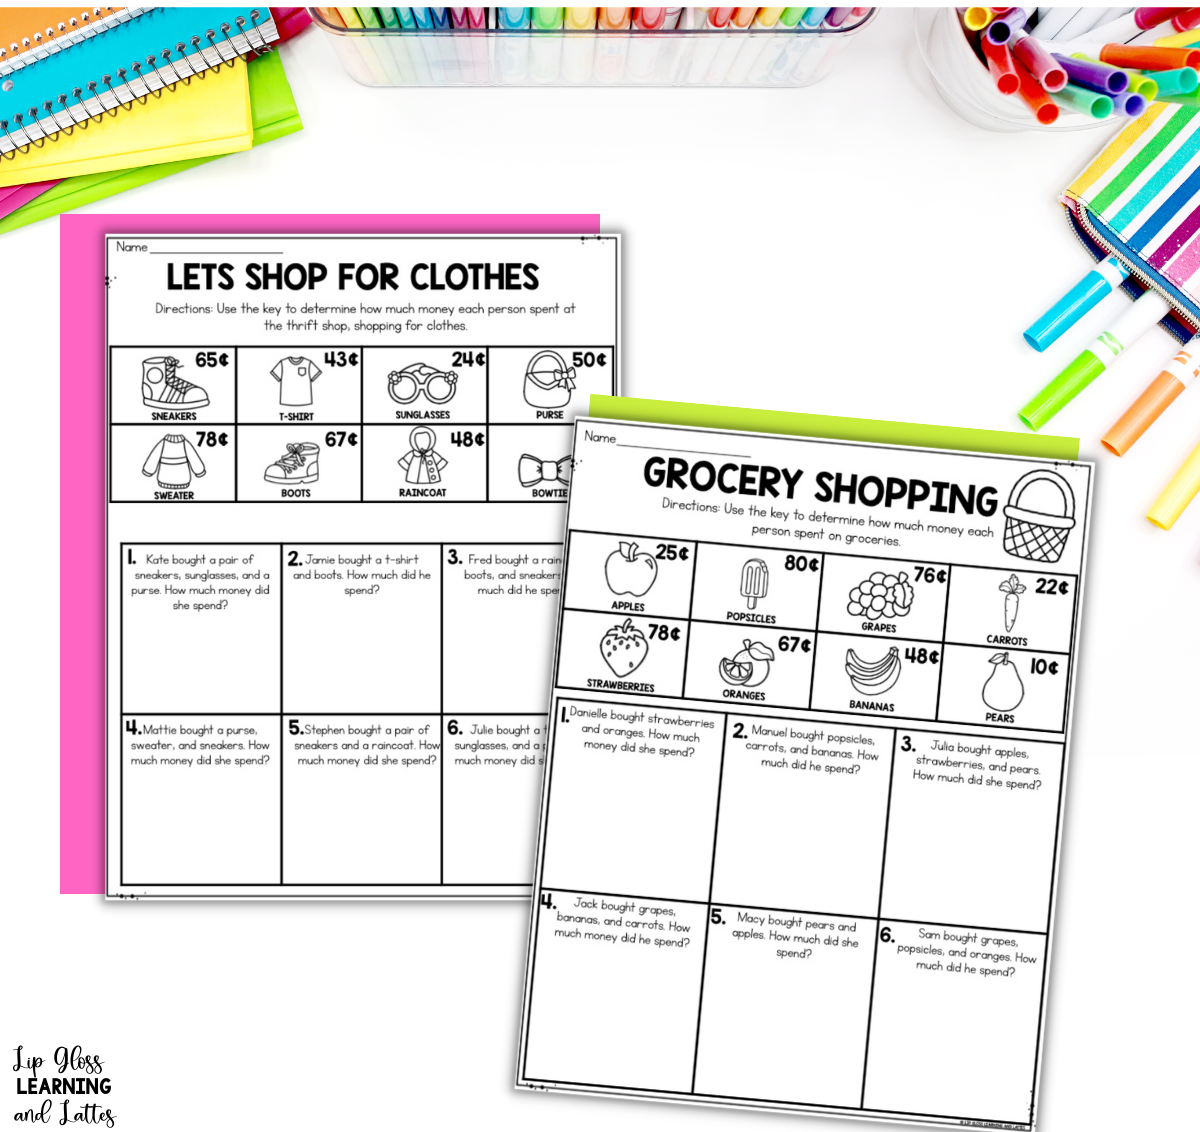
Like I said earlier, the first step to teaching money is to have students add up like coins. Once they’ve mastered this the next step is adding up mixed sets of coins. The final step is when students apply all they’ve learned so far and solve real world word problems where they’ll add and subtract money in order to answer questions such as How much money does _______ have left? or How much change did ______ receive?
WAnt even More Activities for Teaching Money in 2nd Grade?
Race to $1
This is a great game to play to give students practice making $1 and trading smaller coins in for larger coins! Students can play by themselves or take turns with another person. If playing together, the object of the game is to be the first one who collects $1. First, students roll the dice 9 ( a single die or 2 dice). Students will collect the amount of coins based on the number they roll. ( Roll a 4, collect 4 cents and so on.) When students get to a point that they are able to make a trade ( 5 pennies for a nickel) they do so. The first player to reach $1 wins!
Counting Coins Task Cards
I love incorporating task cards in the classroom because they can be used so many different ways! They can be placed around the room and used as a whole group activity, inside of a math station, or an activity for early finishers. These Counting Coins Task Cards give students tons of practice counting mixed sets of coins up to $1! Students simply count the coins and write the amount on their recording sheet. This is a great activity to give more practice counting mixed coins.
Counting Coins Using Boom Cards
Have you tried Boom Cards yet? Boom Cards are super engaging, digital task cards that you can assign to your students. They are self-checking, which makes grading a breeze! Check out this post to see five activities to teach money in 2nd grade using Boom Cards.